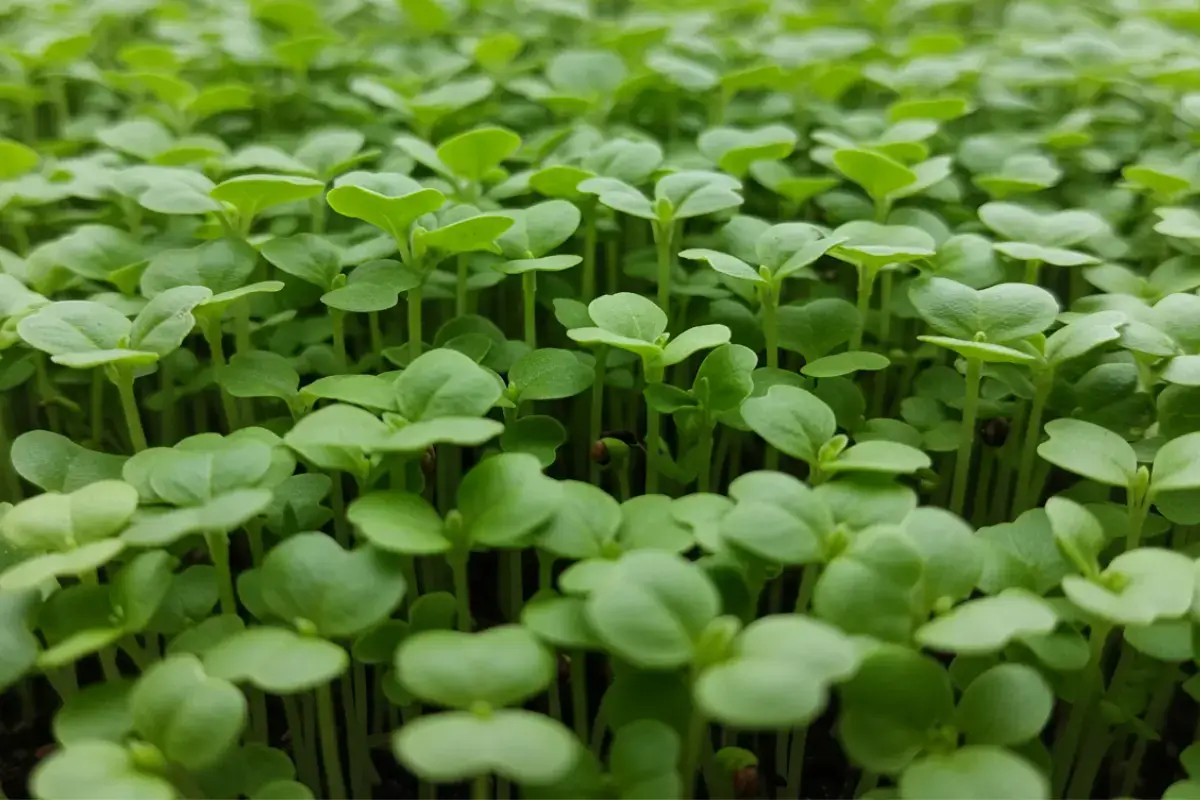
Basil microgreens are tiny, fragrant versions of classic basil, grown in a shallow tray or container and harvested shortly after the first true leaves appear. This quick-growing method allows you to enjoy intense basil flavor in just 1–2 weeks. All it takes are quality basil seeds, a growing medium (such as a mat or soil), consistent moisture, and ample light.
Table of Contents
Introduction
Are you ready to bring fresh, zesty basil flavor into your kitchen without waiting weeks for a mature plant? Learning how to cultivate basil micro greens changes the way we do things— imagine snipping a handful of miniature basil leaves to garnish your pizza, pasta, or salad at a moment’s notice. Plus, these petite greens pack a potent aromatic punch, making them a standout among microgreen varieties.
Welcome to your ultimate guide on growing, caring for, and enjoying basil micro greens. In the sections ahead, you’ll discover step-by-step instructions, must-have supplies, common issues to watch for, and ways to use your fresh harvest. By the end, you’ll have the confidence to fill your kitchen windowsill or countertop with fragrant basil that’s bursting with flavor, all in a fraction of the time it takes to grow a full basil plant. Let’s dive in!
Why Focus on basil Micro Greens?
Microgreens are known for their concentrated flavor and nutrients, and basil micro greens are no exception. Traditional basil can take several weeks to mature, while micro greens are ready in as little as 7–14 days. This quicker growth means a constant supply of fresh basil taste for your favorite dishes.
Top reasons to grow basil micro greens include:
- Speedy Growth: Enjoy fresh basil flavor in nearly half the time it takes to grow mature plants.
- Intense Aroma & Taste: Basil micro greens pack a flavor punch, often described as more robust than regular leaves.
- Minimal Space & Supplies: Perfect for small indoor setups—no large pots or garden plots required.
- Year-Round Harvest: With adequate light and warmth, you can grow basil micro greens any time of the year, indoors or outdoors.
Disclaimer: This article is for informational purposes only and does not replace professional medical or veterinary advice.
Essential Ingredients & Descriptions
To master the art of growing [basil micro greens], you’ll need just a handful of supplies. Here’s what you should gather before planting:
- Basil Seeds
- Description: Opt for high-quality, untreated basil seeds labeled specifically for microgreens or culinary use.
- Why Important: Fresh, viable seeds germinate more reliably and produce healthier basil micro greens.
- Growing Medium (Mat or Soil)
- Description: You can use a hydroponic mat (hemp, bamboo, or coconut coir) or a light, sterile soil mix.
- Why Important: Micro greens need a medium that retains moisture without getting waterlogged. Mats are popular for their cleanliness, while soil can provide slightly more nutrients.
- Shallow Tray or Container
- Description: Usually 1–2 inches deep, made from BPA-free plastic, or even a repurposed baking tray.
- Why Important: Basil micro greens have shallow roots; a high-sided pot isn’t necessary. This saves space and simplifies watering.
- Clean Water Source
- Description: Use filtered or tap water that’s free from harmful contaminants.
- Why Important: Basil micro greens can be sensitive to chemicals or pollutants, and they thrive on consistent moisture.
- Spray Bottle or Gentle Watering Can
- Description: A small, handheld sprayer helps distribute water evenly without disturbing delicate seeds.
- Why Important: Overwatering or strong water flow can displace seeds or lead to mold issues.
- Light Source
- Description: A sunny windowsill with at least 4–6 hours of sunlight, or a grow light providing 12–16 hours a day.
- Why Important: Basil thrives in warm, sunny conditions, even as micro greens. Sufficient light promotes lush, vibrant greens.
Quick Overview: How to Grow Basil Micro Greens
Here’s a snapshot of the process before we dive deeper:
- Prep the Tray: Clean and sanitize; place your chosen growing medium inside.
- Moisten the Medium: Wet the mat or soil thoroughly but avoid waterlogging.
- Sow Basil Seeds: Scatter them evenly, then lightly press them in or mist them to secure.
- Cover or Darken (Optional): A short blackout period (1–2 days) can enhance germination.
- Uncover & Provide Light: Once sprouts appear, expose them to ample light for healthy, green growth.
- Keep Moist: Regularly mist or water to maintain ideal humidity.
- Harvest & Enjoy: Snip basil micro greens at around 1–2 inches tall for maximum flavor.
Step-by-Step Guide to Growing Basil Micro Greens
Below is a more detailed roadmap to ensure you get the most from your basil micro greens journey.
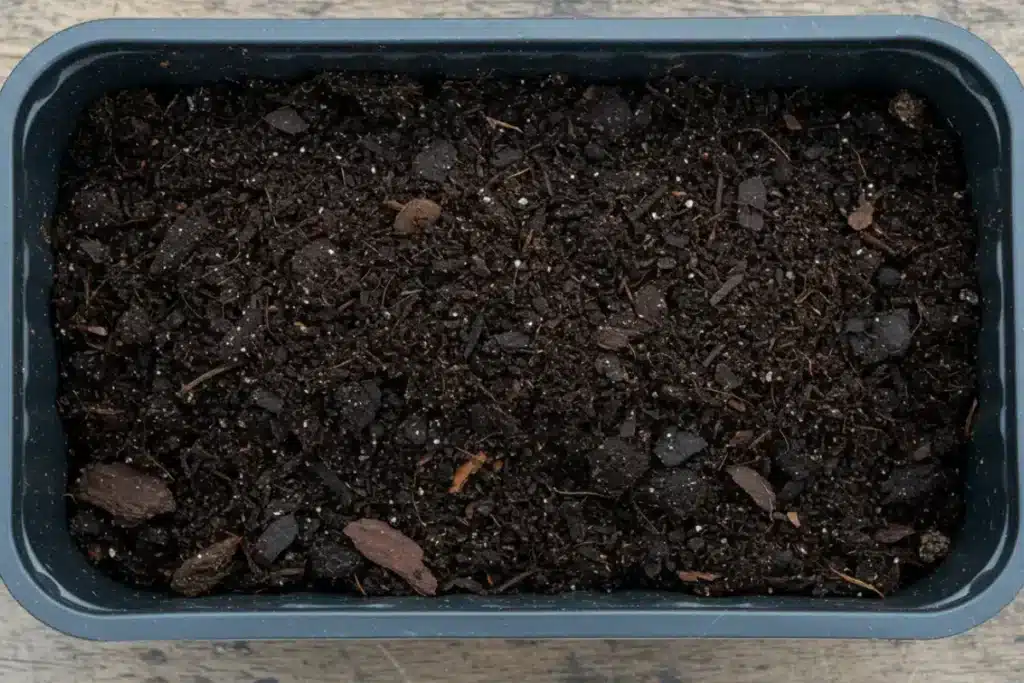
1. Preparing the Tray & Growing Medium
- Clean & Sanitize: Wash the tray with warm, soapy water, then rinse thoroughly. Dry it to remove any standing water.
- Fit the Medium: If you’re using a mat, cut it to fit snugly. For soil, fill the tray up to about 1 inch in depth.
- Moisten: Use your spray bottle or watering can to saturate the medium thoroughly, but avoid puddles.
Tip: Keep an eye on your environment’s temperature—basil micro greens prefer a warm spot of around 70–75°F for optimal germination.
2. Sowing Basil Seeds
- Seed Density: Sprinkle the seeds generously across the moistened surface. Basil micro greens can be somewhat dense, but avoid heavy clumping.
- Light Press: Gently press the seeds onto the mat or into the soil. If you’re using soil, you can lightly cover them with a thin layer or just press them in.
- Mist Again: Spray the seeds to ensure they’re well-seated.
3. Optional Blackout Period (1–2 Days)

- Cover: Some growers place a lid or another tray on top, especially for the first 1–2 days, to keep humidity high and encourage root growth.
- Check Moisture: Peek under the cover daily. If the medium feels dry, mist the seeds again.
- Watch for Germination: Basil seeds can germinate in 2–5 days, sometimes quicker in a warm environment.
Note: The blackout period for basil micro greens can be shorter than for other microgreen types. Basil seeds don’t always require extended darkness but can benefit from a day or two of higher humidity.
4. Uncover & Provide Light
- Remove Cover: Once you see small sprouts emerging, it’s time to give them some light. Basil micro greens turn green quickly as they begin photosynthesis.
- Optimal Light: Place the tray on a windowsill with bright, indirect sunlight or use a grow light for 12–16 hours a day.
- Temperature Check: Aim to keep indoor temperatures around 70°F. If it’s colder, consider a heating mat or warmer location.
5. Watering & Daily Care
- Mist or Water Gently: Check moisture levels at least once a day.
- Avoid Overwatering: Basil micro greens can be prone to damping off and mold if oversaturated. Look for any standing water in the tray and pour it out if present.
- Ventilation: Good air circulation reduces the risk of fungus. A small fan nearby can help, but it’s not always necessary if your space is well-ventilated.
Gardening Expansion: If you enjoy micro greens, you might also love trying a new technique like growing moringa tree from seed for a unique plant experience.
6. Harvesting basil micro greens
- Timing: Basil micro greens are generally ready when they’re about 1–2 inches tall with fully opened cotyledons. This can be anywhere from day 7 to day 14, depending on your conditions.
- Cut Above the Roots: Use clean scissors or a sharp knife to snip them right above the growing medium.
- Rinse & Dry: If you prefer, rinse gently in cool water, then pat dry before using. Store them in a sealed container in the fridge, lined with a paper towel to absorb extra moisture.
7. Using & Enjoying Your Basil Micro Greens
Basil micro greens excel as a finishing touch or garnish, adding a pop of color and fragrance to meals. Sprinkle them over pasta, pizza, bruschetta, soups, or even blend them into pesto for an added flavor boost. Because they’re harvested so young, these micro greens offer an extra concentrated basil essence that can elevate any dish.
Troubleshooting Common Basil Micro Greens Issues
Even the most dedicated gardener can face a few bumps in the road. Here are some typical problems and how to tackle them:
- Mold or Fungus
- Cause: Overwatering, lack of airflow, or excessively high humidity.
- Solution: Reduce watering, ensure the tray drains, and improve ventilation.
- Leggy Seedlings
- Cause: Insufficient light or covering the seeds too long.
- Solution: Uncover sooner and move the tray to a sunnier location or increase artificial light intensity.
- Yellow Leaves
- Cause: Underlighting or overwatering.
- Solution: Increase daily light exposure and adjust watering habits to maintain a lightly moist medium.
- Slow or Uneven Germination
- Cause: Cold temperatures, old seeds, or inconsistent watering.
- Solution: Keep ambient temperature around 70–75°F, use fresh seeds, and water evenly.
- Strange Odors
- Cause: Mold, bacterial buildup, or waterlogged medium.
- Solution: Discard the affected batch, sanitize the tray, reduce watering, and consider better airflow.
Why Choose Basil Micro Greens Over Mature Basil Plants?
- Faster Harvest: No need to wait 8–12 weeks for a mature basil plant.
- Intense Flavor: Micro greens often boast a more concentrated taste than their older counterparts.
- Less Space Needed: A single tray on a windowsill can provide a surprising yield of basil micro greens.
- Risk Management: Less time for pests or disease to take hold compared to a full-season plant.
Still, mature basil has its own perks, like abundant leaf production over time. Consider using both micro greens and fully grown basil plants if you love variety and have the space.
Comparing Basil to Other Micro Greens
Although we’re focusing on basil micro greens, it’s helpful to see how they stack up against other popular options:
| Micro Green | Flavor Profile | Growing Time | Ease of Growth | Notes |
|---|---|---|---|---|
| Basil | Sweet, aromatic | 7–14 days | Moderate | Prefers warmth and consistent moisture |
| Radish | Spicy, peppery | 5–10 days | Easy | Quick to germinate, bright red stems |
| Broccoli | Mildly peppery | 7–10 days | Easy | High sulforaphane content |
| Sunflower | Nutty, crunchy | 7–14 days | Moderate | Larger seeds, often require pre-soaking |
| Pea Shoots | Sweet, fresh pea flavor | 10–14 days | Easy | Need some support; can climb or sprawl |
| Mustard | Fiery, tangy | 6–10 days | Easy | Spice level can vary by variety |
10 Health Benefits of Basil Micro Greens
Growing basil micro greens can offer a range of benefits, though individual results may vary:
- Rich in Antioxidants: Like mature basil, micro forms are loaded with beneficial antioxidants.*
- Concentrated Vitamins: Basil micro greens may contain vitamins A, K, and C in higher concentrations.
- Improved Flavor: Harvested early, the leaves have a more intense basil punch.
- Low-Calorie Garnish: Boost taste without adding significant calories.
- Possible Anti-Inflammatory Properties: Basil is traditionally recognized for its potential anti-inflammatory effects.
- Convenient & Quick: Grown indoors, they deliver fresh nutrients in 1–2 weeks.
- Year-Round Availability: No reliance on external weather conditions.
- Small-Space Farming: Perfect for apartment dwellers or minimal counter space.
- Easy to Incorporate: Sprinkle on almost any dish for a flavor upgrade.
- Fun for All Ages: A great home project for families or beginners exploring gardening.
For general guidance on food safety and handling, visit the U.S. Food & Drug Administration (FDA).
Ways to Enjoy Basil Micro Greens
Once you have a fresh batch of basil micro greens, here are a few delicious ideas:
- Pasta Topping: Sprinkle them on spaghetti or fettuccine to bring a pop of green color and basil aroma.
- Pizza Garnish: Add them after baking so the delicate leaves don’t wilt under the heat.
- Salads: Mix a handful of basil micro greens with your favorite greens for extra zest.
- Pesto Upgrade: Combine them with nuts, olive oil, and Parmesan for a micro-greens twist on classic pesto.
- Soups: Float them on top of tomato soup or minestrone for a fragrant finishing touch.
Frequently Asked Questions (FAQs)
1. Are basil microgreens genetically modified?
Generally, basil micro greens use non-GMO seeds. Verify with a reliable seed supplier. Labels often specify if seeds are certified organic or non-GMO.
2. Are basil micro greens safe for cats?
Some cats handle basil well, but always ask a vet first. If you grow basil micro greens, keep them pesticide-free. Safety varies by pet’s health.
3. Are basil micro greens okay for dogs?
Basil is often considered safe for dogs in tiny portions. Growing basil micro greens organically is best. Talk to your vet for tailored guidance.
4. Is it safe to consume basil micro greens during pregnancy?
Pregnant individuals can enjoy basil if it’s fresh and hygienic. Raising basil micro greens at home helps control cleanliness. Always confirm with a healthcare provider.
5. Where can I find nutrition info for basil micro greens?
Nutrient data exists on academic and agricultural websites. Researching basil micro greens clarifies their vitamins. Look for official or peer-reviewed sources.
6. How much basil microgreens to eat per day?
A small handful is often enough for flavor. If you grow basil micro greens, snip just what you need. A nutritionist can offer precise guidelines.
7. How many ounces of basil microgreens can one tray yield?
Expect a couple ounces per small tray. When you refine your basil micro greens technique, yields can rise. Consistent moisture and light help a lot.
8. What’s the fastest way to master basil micro greens growth?
Start with fresh seeds and consistent watering. Basil micro greens thrive in warm, bright spots. Track your progress and adjust for better results.
Conclusion
You’ve just uncovered the complete roadmap to growing, harvesting, and enjoying basil micro greens. From prepping your tray to savoring that fresh basil aroma, this mini indoor gardening adventure promises a short, sweet path to deliciousness. If you’ve ever been discouraged by the long wait for mature basil plants, these micro greens offer a quick, aromatic fix that anyone can enjoy.
Ready to begin your basil micro greens journey? Gather your supplies, follow the steps, and watch those seedlings flourish—filling your kitchen with basil’s signature fragrance. Don’t forget to share your experiences or tips with fellow gardeners; it’s all part of the fun. Happy growing!